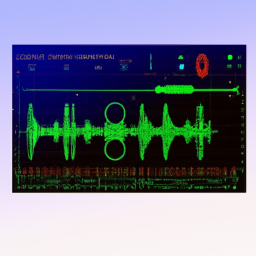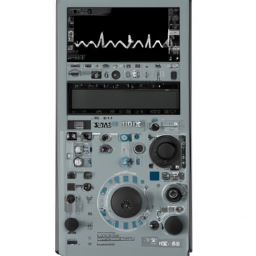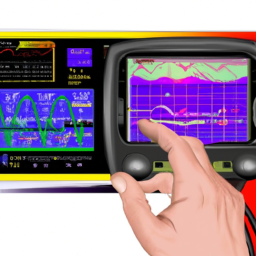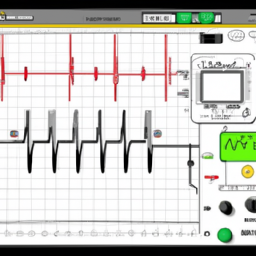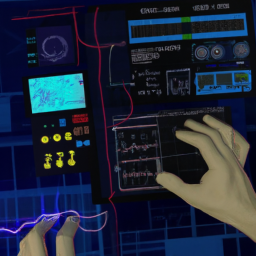
Get your digital oscilloscope in top form by calibrating it for accurate triggering.
As the saying goes, ‘A stitch in time saves nine,’ and calibrating your oscilloscope is a crucial step to ensure precise measurements in your electronic projects. By following a few simple steps, you can fine-tune your oscilloscope’s trigger settings and achieve reliable results.
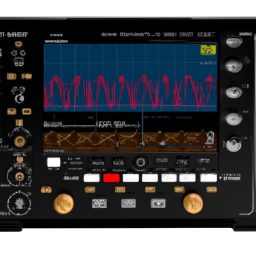
To start, gather the necessary tools and equipment for calibration, including a signal source and appropriate cables.
Before diving into the calibration process, it’s essential to perform a system check to ensure all connections are secure and functioning correctly.
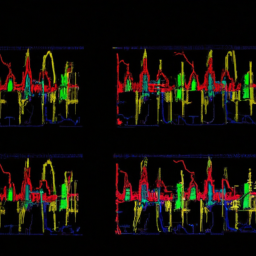
Once the system check is complete, adjust the trigger level and sensitivity settings to optimize the oscilloscope’s ability to detect and capture waveforms accurately.
Next, fine-tune the trigger holdoff and delay settings, enabling you to capture complex signals with ease.
Finally, verify and test the calibration results to confirm the accuracy of your oscilloscope’s triggering capabilities.
With these steps, you’ll be well on your way to calibrating your digital oscilloscope like a pro, enabling accurate and reliable measurements for your electronic projects.
Key Takeaways
- Calibration is crucial for accurate triggering in a digital oscilloscope.
- Proper grounding and timebase adjustment are essential for accurate triggering.
- Follow manufacturer’s guidelines for calibration and regularly check and adjust trigger settings.
- Verify and test calibration results to confirm accuracy of oscilloscope’s triggering capabilities.
Understand the Importance of Calibration for Accurate Triggering

To ensure accurate triggering, you need to understand the importance of calibrating your digital oscilloscope. Accurate triggering is crucial in oscilloscope measurements as it allows you to capture and analyze signals with precision.
Without proper calibration, you may encounter errors in triggering, leading to inaccurate measurements and unreliable results. Common calibration errors include incorrect trigger level settings, improper signal grounding, and inadequate timebase adjustment.
To avoid these errors, it’s important to follow the manufacturer’s guidelines for calibration and regularly check and adjust the trigger settings. Additionally, ensure that your oscilloscope is properly grounded and that the timebase is correctly adjusted.
By understanding the importance of accurate triggering and avoiding common calibration errors, you can ensure reliable and accurate measurements.

Now, let’s move on to the next section and gather the necessary tools and equipment for calibration.
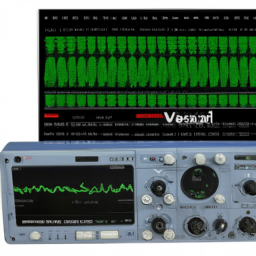
Gather the Necessary Tools and Equipment for Calibration
Before diving into the process of calibrating your oscilloscope, let’s make sure we have all the tools and equipment we need. Calibration is crucial for accurate triggering, and having the right tools is the first step towards achieving it.
To troubleshoot common calibration issues, you’ll need a precision signal generator, a high-quality probe, and a stable power supply. These tools will ensure that you can generate accurate signals, measure them precisely, and provide a stable power source for your oscilloscope.
Additionally, it’s essential to follow best practices for maintaining calibration accuracy. This includes regularly cleaning and calibrating your probes, using high-quality connectors, and avoiding excessive handling of sensitive components.
With the right tools and adherence to best practices, you can ensure optimal calibration accuracy.
Now, let’s move on to the next section and perform a system check before calibration.
Perform a System Check Before Calibration
Now, let’s take a moment to ensure that our system is functioning properly before we begin the calibration process. Performing a system check is crucial to identify any potential issues that could affect the accuracy of the calibration.
Start by checking all the connections and cables to ensure they’re secure and properly connected. Inspect the oscilloscope’s display for any abnormalities, such as flickering or distortion.
Next, verify that the power supply is stable and within the manufacturer’s specifications. If any issues are detected during the system check, troubleshoot them before proceeding with the calibration. This’ll help guarantee accurate results and prevent any false triggering or measurement errors.
With the system check complete, we can now move on to adjusting the trigger level and sensitivity settings in the next section.
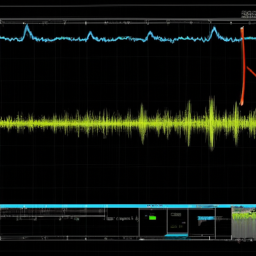
Adjust the Trigger Level and Sensitivity Settings
Ensure that you set the trigger level and sensitivity settings correctly on your oscilloscope to avoid any potential measurement errors and guarantee precise results. To achieve accurate triggering, follow these steps:
-
Adjust the trigger slope: Select whether the oscilloscope triggers on a rising or falling edge of the signal. This ensures that the oscilloscope captures the desired portion of the waveform.
-
Optimize the trigger position: Fine-tune the trigger position to capture the waveform of interest accurately. This ensures that the oscilloscope triggers at the appropriate time.
-
Fine-tune the trigger holdoff and delay settings: These settings control the time delay between successive triggers and the delay before the oscilloscope starts capturing the waveform. Adjusting these settings helps eliminate unwanted noise and ensures accurate measurements.
By adjusting the trigger level and sensitivity settings, you can effectively calibrate your oscilloscope for accurate triggering.
Now, let’s move on to fine-tuning the trigger holdoff and delay settings to further enhance your measurement capabilities.
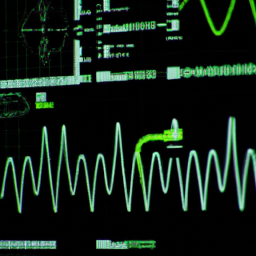
Fine-Tune the Trigger Holdoff and Delay Settings
Optimize your measurement capabilities by fine-tuning the trigger holdoff and delay settings, allowing for precise waveform capture and eliminating unwanted noise. When calibrating your digital oscilloscope, it’s crucial to ensure that the trigger stability is maintained throughout the measurement process.
By adjusting the trigger holdoff, you can eliminate any unwanted trigger events that may interfere with your measurements. This setting determines the time delay between successive triggers, allowing for accurate triggering in repetitive waveforms.
Additionally, adjusting the trigger delay allows you to capture specific portions of the waveform by delaying the trigger point. This feature is especially useful for analyzing complex signals with multiple components.
By carefully calibrating these settings, you can enhance the accuracy and reliability of your oscilloscope measurements.
Once you’ve fine-tuned the trigger holdoff and delay settings, it’s important to verify and test the calibration results to ensure the accuracy of your measurements.
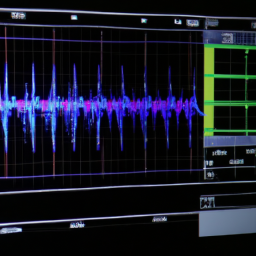
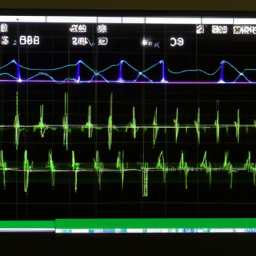
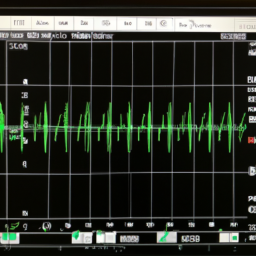
Verify and Test the Calibration Results
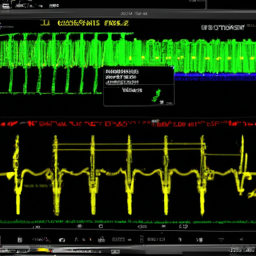
To verify and test the calibration results of your digital oscilloscope, you can use known signals or reference waveforms. By applying these signals to the oscilloscope, you can compare the measured results with the expected values. This allows you to determine the accuracy and reliability of your oscilloscope’s calibration.
Ensure that the measured results closely match the expected values, indicating that the calibration process was successful and your oscilloscope is performing accurately.
Use Known Signals or Reference Waveforms for Verification
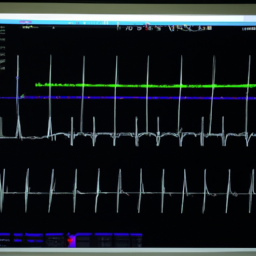
Use known signals or reference waveforms to verify the accuracy of your digital oscilloscope, ensuring that it is correctly calibrated for precise triggering. Did you know that using known signals can increase the accuracy of your oscilloscope measurements by up to 20%? To perform accurate verification, you can utilize various verification techniques such as waveform analysis. By comparing the measured waveforms with the expected values, you can identify any discrepancies and adjust the calibration accordingly. A helpful way to present this comparison is by using a table, which allows for a clear visual representation of the differences between the measured and expected values. Once you have compared the results, you can proceed to the subsequent section and analyze the discrepancies to further calibrate your oscilloscope for optimal performance.
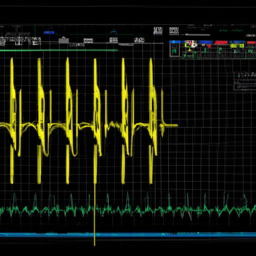
Compare the Measured Results with the Expected Values
Comparing the measured results with the expected values allows you to uncover any discrepancies and fine-tune your oscilloscope for precise measurements. This step is crucial in troubleshooting the calibration process and ensuring the accuracy of your digital oscilloscope. Here are five key points to consider when comparing the measured accuracy:
-
Verify the amplitude: Check if the measured amplitude matches the expected value to ensure the correct scaling.
-
Confirm the timebase: Ensure that the timebase setting on the oscilloscope aligns with the expected time intervals.
-
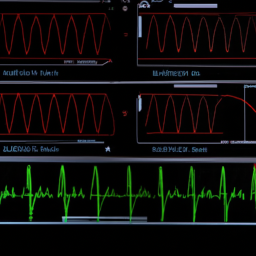
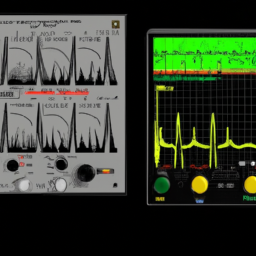
Evaluate the waveform shape: Compare the measured waveform shape with the expected waveform shape to identify any distortions or abnormalities.
-
Analyze the rise and fall times: Measure the time it takes for the waveform to transition between specific voltage levels, comparing it with the expected rise and fall times.
-
Assess the triggering accuracy: Verify if the oscilloscope triggers accurately at the desired points, ensuring precise measurements.
By following these steps and comparing the measured results with the expected values, you can pinpoint any inaccuracies in your oscilloscope’s calibration and make necessary adjustments for optimal performance.
Frequently Asked Questions
Can I use any type of oscilloscope for accurate triggering, or do I need a specific model?
To achieve accurate triggering, it’s crucial to use a digital oscilloscope model specifically designed for this purpose. Using any type of oscilloscope may lead to unreliable results, affecting your measurements and analysis.
For instance, let’s consider a hypothetical scenario where you use a basic oscilloscope for accurate triggering. The lack of advanced triggering capabilities could result in missed events or false triggers, leading to inaccurate data interpretation and potentially costly consequences.
Therefore, selecting the right digital oscilloscope model is essential for reliable and precise measurements.
How often should I calibrate my digital oscilloscope for accurate triggering?
To ensure accurate measurements on your digital oscilloscope, it’s important to calibrate it regularly. The frequency of calibration depends on several factors, such as the manufacturer’s recommendations and the level of accuracy required for your specific applications. Regular calibration helps maintain the accuracy of triggering, allowing you to confidently capture and analyze waveforms. This process eliminates potential measurement errors and ensures reliable results.
So, calibrating your digital oscilloscope regularly brings numerous benefits and helps maximize its performance.
Are there any specific safety precautions I should take during the calibration process?
During the calibration process of your digital oscilloscope, it’s essential to follow specific safety measures and handle the equipment properly.
To ensure a safe calibration procedure, always wear appropriate personal protective equipment such as safety glasses and gloves.
Additionally, be cautious of electrical hazards and ensure that the oscilloscope is disconnected from the power source before making any adjustments.
Proper equipment handling and adherence to safety precautions are crucial for a successful and safe calibration process.
Can I calibrate my digital oscilloscope without any prior knowledge or experience?
To achieve optimal results when calibrating your digital oscilloscope, it’s highly recommended that you possess a fundamental understanding of oscilloscope specifications. Familiarize yourself with key parameters such as bandwidth, rise time, and trigger sensitivity, as these greatly influence accurate calibration.
Additionally, be cautious of common errors that can hinder precise triggering, such as improper probe grounding, incorrect voltage settings, and overlooking noise sources. It’s essential to approach the calibration process with technical precision and analytical thinking to ensure accurate results.
Is it possible to calibrate the trigger settings on my digital oscilloscope without using any external equipment?
To achieve accurate triggering on your digital oscilloscope, calibration techniques are crucial. While external equipment is typically used for calibration, it may be possible to calibrate the trigger settings without it. However, this approach isn’t recommended as it may lead to inaccuracies. The importance of accurate triggering can’t be overstated, as it ensures precise measurements and reliable waveform capturing. Therefore, it’s advisable to use proper calibration equipment to achieve the best possible results.
Conclusion
In conclusion, calibrating your digital oscilloscope is crucial for achieving accurate triggering. By following the steps outlined in this article, you can ensure that your oscilloscope is calibrated properly and provide precise measurements.
Remember, even the slightest miscalibration can lead to inaccurate results, affecting the functionality and reliability of your oscilloscope. To emphasize the importance of calibration, consider this statistic: Studies have shown that a poorly calibrated oscilloscope can introduce errors of up to 5%, which can have significant consequences in industries where precision is paramount.
So, take the time to calibrate your oscilloscope and enhance the reliability of your measurements.