Get ready to dive into the thrilling world of triggering options in digital oscilloscopes! Buckle up, because this comprehensive guide is about to take you on a mind-blowing journey that will unlock the true potential of your oscilloscope.
With an array of features and functionalities, triggering options are the secret sauce that allows you to capture and analyze the precise signals you need.
In this article, you’ll discover the fundamental basics of triggering, empowering you to set up trigger parameters like a pro. But we won’t stop there – we’ll explore advanced techniques that will elevate your oscilloscope game to new heights.
Ever heard of trigger holdoff? We’ll show you how to leverage this powerful tool for even more precise measurements.
But wait, there’s more! We’ll also delve into troubleshooting and debugging with triggers, ensuring you have the skills to tackle any project with confidence.
And to top it all off, we’ll provide you with invaluable tips and tricks for effective triggering, so you can make the most out of your digital oscilloscope.
Ready to become a triggering expert? Let’s get started!
Key Takeaways
- Triggering options in digital oscilloscopes are essential for precise signal capture and analysis.
- Different trigger modes cater to different measurement scenarios and waveform types.
- Adjusting trigger parameters such as level, slope, and holdoff values is crucial for optimal waveform capture.
- Advanced triggering techniques allow for the analysis of complex waveforms and troubleshooting of circuits.
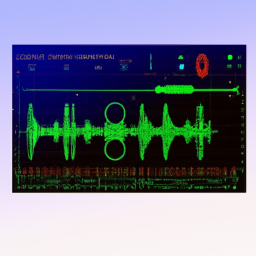
Understanding the Basics of Triggering
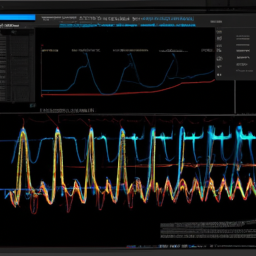
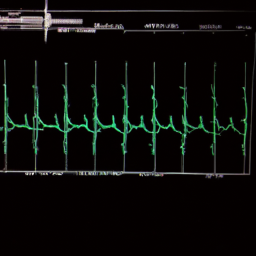
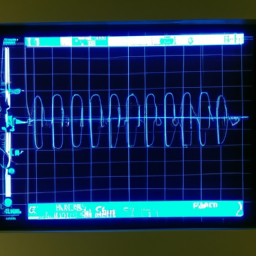
Now that you’ve grasped the fundamentals of triggering, you’ll be able to unlock a whole new level of precision in your oscilloscope measurements. Understanding the basics of triggering is crucial for accurate waveform capture, and it allows you to troubleshoot common triggering issues that may arise.

These issues can include false triggering, insufficient triggering, or unstable triggering. By understanding the trigger jitter, which is the variation in the timing of triggered events, you can minimize its impact on your measurements. Trigger jitter can be caused by noise, signal interference, or improper triggering settings. Minimizing trigger jitter is essential to ensure precise and reliable measurements.
Moving forward to the section about setting up trigger parameters, you’ll learn how to optimize your oscilloscope’s performance even further.
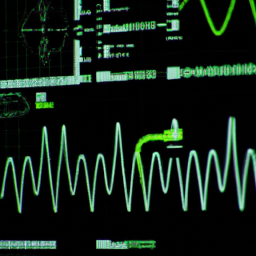
Setting up Trigger Parameters
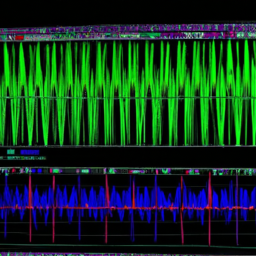
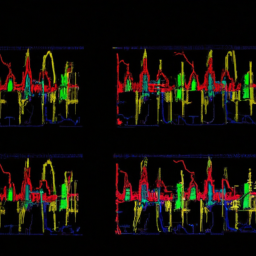
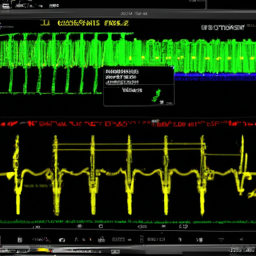
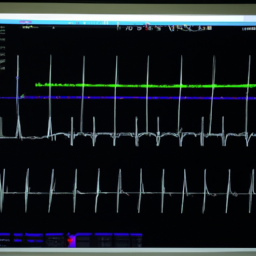
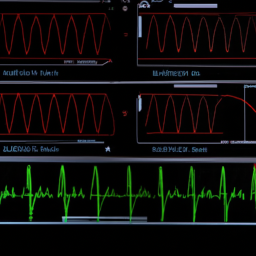
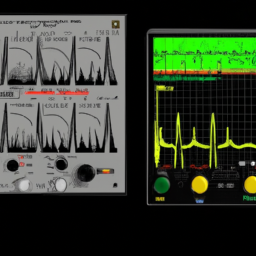
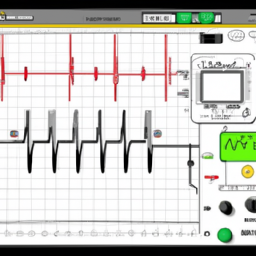
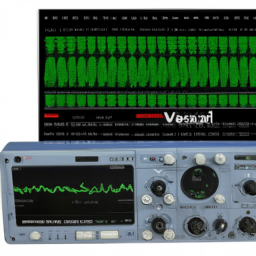
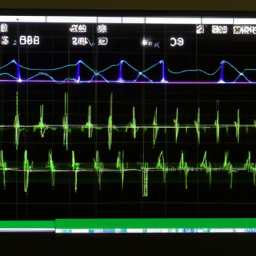
To set up trigger parameters for your digital oscilloscope, you need to adjust the trigger level and slope. The trigger level determines at what voltage level the trigger will activate, while the slope determines whether the trigger will activate on a rising or falling edge. It’s important to choose the right trigger mode for your measurement, such as edge, pulse, or video. This determines how the oscilloscope will capture and display the waveform.
Adjusting trigger level and slope
When you’re tinkering with your digital oscilloscope, you can easily tweak the trigger level and slope to get the perfect waveform. Adjusting the hysteresis level is crucial for optimizing trigger settings. By fine-tuning this parameter, you can eliminate noise and ensure reliable triggering.

To adjust the hysteresis level, access the trigger menu and locate the hysteresis option. Increase or decrease the value until you achieve the desired stability in the trigger signal.
Additionally, you can adjust the trigger slope to capture specific types of waveforms. This feature allows you to choose between rising or falling edges as the trigger point. By selecting the appropriate slope, you can accurately trigger on the desired part of the waveform.
After adjusting the trigger level and slope, you can move on to choosing the right trigger mode for your measurement, ensuring precise and accurate results.
Choosing the right trigger mode for your measurement
Selecting the perfect trigger mode will unlock a world of precise and accurate measurements, taking your oscilloscope experience to new heights. When it comes to triggering options comparison, digital oscilloscopes offer a range of trigger modes to suit different measurement scenarios.
The most common trigger modes include edge trigger, pulse width trigger, video trigger, and serial trigger. Each mode has its own benefits and advantages. For example, edge trigger allows you to trigger the scope based on a rising or falling edge of a signal, while pulse width trigger enables you to trigger when a pulse exceeds a certain width. Video trigger is useful for analyzing video signals, and serial trigger is designed for decoding and triggering on specific serial protocols.
These different trigger modes provide flexibility and precision for your measurements, ensuring accurate results. By understanding and utilizing the right trigger mode for your measurement, you can enhance your analysis and gain deeper insights into your signals.
Now, let’s explore advanced triggering techniques to further expand your oscilloscope capabilities.
Advanced Triggering Techniques
Explore the array of advanced triggering techniques available to unlock a whole new level of functionality and precision in your digital oscilloscope. These techniques are essential for troubleshooting and debugging complex signals. By mastering these advanced techniques, you can capture elusive events and gain valuable insights into your waveform. Below is a table that outlines four advanced triggering techniques and their benefits:
| Technique | Benefits |
|---|---|
| Edge Triggering | Captures specific edge transitions |
| Pulse Width Trigger | Triggers on specific pulse width |
| Video Triggering | Synchronizes with video signals |
| Logic Triggering | Triggers based on logic levels and patterns |
By utilizing these advanced triggering techniques, you can enhance your oscilloscope’s capabilities and effectively analyze signals in various scenarios. Now, let’s delve into the next section and explore the topic of using trigger holdoff.
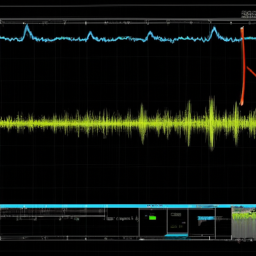
Using Trigger Holdoff
To improve measurement accuracy, you can utilize trigger holdoff in your digital oscilloscope. By setting up and adjusting the trigger holdoff time, you can ensure that the trigger circuit is disabled for a specific period after each trigger event. This allows the oscilloscope to stabilize before capturing the next waveform. By doing so, it prevents false trigger events and reduces measurement errors caused by noise or jitter in the signal.
How trigger holdoff can improve measurement accuracy
Improve your measurement accuracy in a snap with trigger holdoff – it’s like giving your oscilloscope a pause button! Trigger holdoff is a feature that allows you to set a specific time delay before the next trigger event can occur.
By utilizing this feature, you can enhance signal integrity and reduce measurement errors. Here are four key benefits of trigger holdoff:
-
Minimize overlapping triggers: Trigger holdoff ensures that the oscilloscope waits for a specified time period before triggering again, preventing overlapping triggers that can distort the waveform.
-
Eliminate false triggers: With trigger holdoff, you can eliminate false triggers caused by noise or other unwanted signal variations, ensuring accurate measurements.
-
Capture intermittent events: By setting an appropriate trigger holdoff time, you can capture intermittent events without missing any crucial information.
-
Enhance measurement precision: Trigger holdoff helps in accurately capturing repetitive waveforms by providing a stable trigger point, resulting in improved measurement precision.
To further optimize your oscilloscope’s performance, it’s essential to understand how to set up and adjust the trigger holdoff time.
Setting up and adjusting trigger holdoff time
Mastering the art of setting up and adjusting trigger holdoff time can significantly enhance your oscilloscope measurements. When it comes to setting trigger holdoff time, there are common challenges that you may encounter.
One challenge is determining the appropriate holdoff time for your specific signal. Different signal types require different trigger holdoff times in order to effectively capture and analyze the waveform.
Another challenge is optimizing the holdoff time to minimize false triggering and improve measurement accuracy. It’s important to experiment with different holdoff values to find the optimal setting for your particular measurement scenario.
By understanding and addressing these challenges, you can ensure that your trigger holdoff time is properly set up and optimized for accurate and reliable oscilloscope measurements.
Transitioning into the next section about troubleshooting and debugging with triggers, you can now delve into the various techniques for effectively utilizing triggers in your oscilloscope.
Troubleshooting and Debugging with Triggers
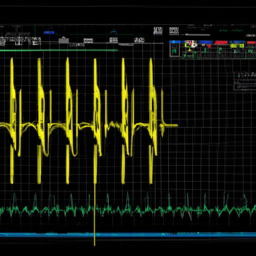
To troubleshoot and debug intermittent signals, you can utilize triggers on your digital oscilloscope. Triggers allow you to capture these intermittent signals, helping you analyze and identify the root cause of the issue.
Additionally, advanced triggering techniques enable you to analyze complex waveforms, such as pulses, glitches, and narrow timing events. This provides a more comprehensive understanding of your circuit’s behavior.
By leveraging these triggering capabilities, you can efficiently troubleshoot and debug your circuits, saving time and effort in the process.
Using triggers to capture intermittent signals
When intermittent signals are encountered, it’s essential to utilize triggers in digital oscilloscopes to capture those elusive moments. Triggers allow you to precisely capture and analyze waveform anomalies that occur sporadically. Here are five important tips for using triggers effectively:
-
Set a trigger level: Adjust the trigger level to a value that will capture the intermittent signal without being too sensitive to noise.
-
Choose the trigger type: Select the appropriate trigger type, such as edge trigger or pulse trigger, based on the characteristics of the intermittent signal.
-
Adjust trigger parameters: Fine-tune the trigger parameters, including trigger holdoff, pre-trigger/post-trigger settings, and trigger delay, to capture the desired waveform accurately.
-
Enable trigger hysteresis: Enable hysteresis to prevent false triggers caused by signal noise or jitter.
-
Use trigger holdoff: Utilize trigger holdoff to ensure that the oscilloscope waits for a specific time after a trigger event before triggering again.
By following these guidelines, you can effectively troubleshoot intermittent signal issues and capture and analyze elusive waveform anomalies.
Now, let’s delve into analyzing complex waveforms with advanced triggering techniques.
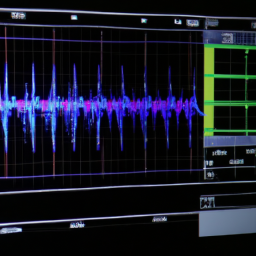
Analyzing complex waveforms with advanced triggering techniques
Delve into the fascinating world of analyzing complex waveforms with advanced triggering techniques using your digital oscilloscope. Signal analysis using triggering techniques is an essential skill for any engineer or technician working with intricate waveforms.
By utilizing advanced triggering methods, you can enhance measurement efficiency and gain valuable insights into your signals. These techniques allow you to isolate specific events or patterns within your waveform, enabling precise analysis and troubleshooting.
With the ability to set up triggers based on voltage levels, edges, or pulse widths, you can capture and analyze even the most complex waveforms with ease. Understanding and utilizing advanced triggering techniques is crucial for accurate and efficient signal analysis.
Moving forward, let’s explore some tips and tricks for effective triggering without missing any crucial details.
Tips and Tricks for Effective Triggering
Mastering the art of effective triggering in your digital oscilloscope can be a game-changer, helping you unlock its full potential and turn your measurements into a breeze. To achieve this, understanding triggering techniques and overcoming common triggering issues is crucial. Here are some tips and tricks to enhance your triggering experience.
Firstly, adjust the trigger level and holdoff time appropriately. The trigger level determines when the oscilloscope starts capturing data, while the holdoff time prevents retriggering too quickly. Experiment with different settings to find the optimal values for your waveform.
Next, utilize advanced trigger modes such as edge, pulse, or video triggering, depending on the type of signal you’re analyzing. These modes allow you to capture specific events or patterns within the waveform accurately.
Additionally, take advantage of the trigger filtering options available. You can apply low-pass or high-pass filters to eliminate noise or isolate specific frequency components, respectively.
Lastly, consider using the trigger position feature to capture specific sections of your waveform, allowing for focused analysis on particular areas of interest.
By implementing these tips and tricks, you can improve your triggering capabilities and ensure accurate measurements with your digital oscilloscope.
Frequently Asked Questions
Can I use an external trigger source with my digital oscilloscope?
Yes, you can definitely use an external trigger source with your digital oscilloscope. The external trigger functionality allows you to synchronize the triggering of the oscilloscope with an external signal. This feature offers several advantages. Firstly, it enables you to trigger on signals that may not be easily detectable by the internal trigger circuitry. Additionally, it provides greater flexibility and accuracy in capturing specific events or signals of interest.
How do I adjust the trigger level to capture a specific waveform on the oscilloscope?
To adjust the trigger level on your digital oscilloscope and capture a specific waveform, follow these steps.
First, locate the trigger level control on the front panel of the oscilloscope. Use the control to set the desired voltage level at which the trigger event should occur.
Ensure that the trigger source is set correctly, either as an internal or external source. This will allow the oscilloscope to trigger and capture the waveform accurately.
What is trigger holdoff and how does it affect the triggering of my oscilloscope?
Trigger holdoff is a crucial feature for accurate waveform capture on your oscilloscope. It allows the instrument to ignore subsequent triggers for a specified period after each trigger event. This prevents false triggering caused by noise or signal reflections.
Adjusting trigger holdoff can be challenging, as setting it too short can lead to false triggers, while setting it too long can cause missed triggers. To overcome this, experiment with different holdoff settings until you achieve reliable triggering and accurate waveform capture.
Is it possible to trigger on a specific data pattern or protocol using a digital oscilloscope?
To set up triggering on a specific data pattern in a digital oscilloscope, you need to explore the various triggering options for different protocols. Start by accessing the trigger menu and selecting the appropriate trigger type, such as pattern or protocol triggering. Specify the desired data pattern or protocol parameters, including bit patterns, data rates, and signal levels. Adjust the trigger holdoff time if needed.
This allows the oscilloscope to capture and display only the desired data pattern or protocol.
Can I trigger on specific frequency or time intervals using a digital oscilloscope?
Yes, you can trigger on specific frequency or time intervals using a digital oscilloscope. This feature allows you to precisely capture and analyze signals at specific points in time. By setting the trigger to detect amplitude changes or edge transitions, you can ensure that the oscilloscope captures the waveform exactly when it meets your specified criteria.
This capability is essential for accurately measuring and analyzing signals in various applications. Remember, "Timing is everything" when it comes to triggering on specific frequency or time intervals.
Conclusion
In conclusion, mastering the art of triggering options in digital oscilloscopes is no small feat. But with this comprehensive guide, you’re well on your way to becoming an expert.
By understanding the basics and setting up trigger parameters, you can unlock the full potential of your oscilloscope. Don’t forget to leverage trigger holdoff for precise measurements. Additionally, troubleshoot and debug with ease using triggers.
With these tips and tricks, you’ll be triggering like a pro in no time!